Though the purpose of yoga has always been to take you on the spiritual path of unity, one cannot ignore the immense physical benefits offered by doing the ‘asanas’ or poses. This benefit of yoga makes it ideal for athletes who want to strengthen and tone their bodies because yoga can help with recovery and stretching stiff muscles. Doing yoga also calms and balances the mind helping athletes who are under tremendous pressure to focus. If you’re an athlete and want to give yoga a shot, start with these 7 poses.
1. Triangle Pose

- From a standing position with the legs 3 feet apart as in Five Pointed Star, turn the right toes to the right wall and the left toes slightly inwards. Inhale and press the left hips out to the left as you slide both arms to the right parallel to the floor.
- Exhale and rotate only the arms, raising the left arm up and resting the right hand against the right leg, with the palms facing forward.
- Press into the feet, pull up the knee caps, keeping the legs strong. Reach the fingertips away from each other, bringing the arms into one straight line with the shoulders stacked on top of each other. Press the left hip forward and the right hip back. Breathe and hold for 3-6 breaths.
- To release: inhale and reach the raised hand up towards the ceiling as you press down into the feet using the whole body to lift back into 5 pointed star. Repeat on the other side.
2. Downward Dog Pose

- Come onto your fours. Form a table such that your back forms the table top and your hands and feet form the legs of the table.
- As you breathe out lift the hips up, straightening the knees and elbows, form an inverted V-shape with the body.
- Hands are shoulder width apart, feet are hip width apart and parallel to each other. Toes point straight ahead.
- Press your hands into the ground. Widen through the shoulder blades. Keep the neck lengthened by touching the ears to the inner arms.
- Hold the downward dog pose and take long deep breaths. Look towards the navel.
Exhale. Bend the knees, return to table pose. Relax.
3. Pigeon Pose

- Start on all fours. Bring your right knee forward and place it more or less behind your right wrist. Place your ankle somewhere in front of your left hip. The more your lower leg is parallel to the front of the mat, the more intense the hip opener.
- Slide your left leg back, straighten the knee and point the toes. Make sure your leg is behind your body and not drawing outwards and your heel is pointing up to the ceiling.
- Draw your legs in towards each other to help keep your hips square. Gently lower yourself down and use some support under your right buttock if needed, to keep your hips level.
- On an inhale lift your upper body, come on your fingertips, hands shoulder width apart, draw your navel in, tailbone down and open your chest.
- On an exhale walk your hands forward on the fingertips and lower your upper body to the floor. You can rest your forearms and forehead on the mat.
- Stay here for 5 breaths or longer and on an exhale try to release the tension in your right hip.
Balance your weight on both legs. - Come out of the pose by pushing back through the hands and lifting the hips, move the leg back on all fours.
4. Reclined Spinal Twist

- Begin lying comfortably on the back. Bend your knees in to your chest and extend your arms out alongside the body in a “T” formation, with your palms facing up toward the ceiling.
- Inhale here, lengthening your tailbone down toward the ground. As you exhale, drop both of your bent knees over to the right, and send your gaze over to the left.
- Keep your knees and feet close together, and press the backs of your shoulder blades down toward the mat.
- Remain in the twist for 5-10 breaths, then inhale to come back up to center. On your next exhale, drop your knees to the left, and send your gaze to the right.
- Inhale to come back up to center. Wrap your arms around your legs and gently rock from side to side to release the low back, then extend both legs straight down onto the mat.
5. Equestrian Pose

- Start with standing, both feet together and hands by the sides of your body. Exhale and bend forward so that your palm comes flat on the floor by the sides of your feet.
- From this position, take the left leg as far back as possible. In the process, bend the right knee without changing its position. Inhale while stretching the left leg back.
- Keep the hands straight with fingers touching the floor. Arch the back and tilt the head slightly backward. Look straight ahead.
- Stay in the posture for a few breaths. Pull the left leg forward and place your left feet parallel to the right feet with palms still resting on the floor. Make sure your fingers and toes are aligned.
- Come back to standing position and repeat the same with your right leg.
6. Bridge Pose

- Start by lying on your back. Fold your knees and keep your feet hip distance apart on the floor, 10-12 inches from your pelvis, with knees and ankles in a straight line.
- Keep your arms beside your body, palms facing down. Inhaling, slowly lift your lower back, middle back and upper back off the floor; gently roll in the shoulders; touch the chest to the chin without bringing the chin down, supporting your weight with your shoulders, arms and feet.
- Your glutes become active. Both the thighs are parallel to each other and to the floor. Interlace the fingers and push the hands on the floor to lift the torso a little more up. Keep breathing easily.
- Hold the posture for a few breaths and exhale as you gently release the pose.
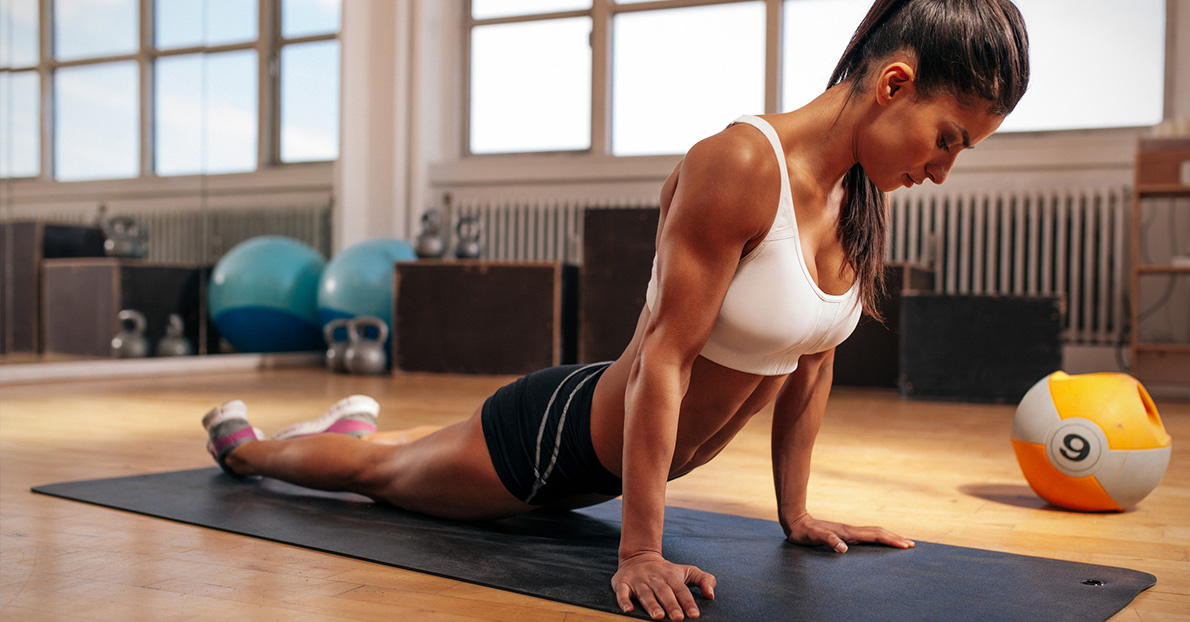
7. Cobra Pose

- To start the pose, lie on your stomach and place your forehead on the floor. Keep your feet together, or hip width apart and the tops of your feet pressing against the floor.
- Place your hands underneath your shoulders, keeping your elbows close to your body. Draw your shoulder blades back and down, and try to maintain this throughout the pose.
- Draw your pubic bone towards the floor to stabilize your lower back, and press your feet actively onto the floor.
- With the next inhale, start lifting your head and chest off the floor. Be mindful of opening the chest, and don’t place all of your weight onto your hands.
- Keep the elbows slightly bent and keep the back muscles working. Take your hands off from the floor for a moment to see what is a comfortable height for you.
- Keep your shoulders relaxed. With exhale lower yourself back onto the ground.